0x04 How I Do CRT Effects
This guide will show a way that I found to do CRT effects. I will focus on a CRT PC monitor rather than a CRT TV. PC monitors were designed to be sharper as the viewer would be close to it, and the content displayed needed to be sharp (think menus, text). TVs were meant to be viewed further away, so they were not as sharp.
tl;dr
- Scale image by [Y] amount (where 1 pixel is now [Y] x [Y] pixels), no interpolation
- G'MIC -> CRT Phosphors
- Upscale Factor X1
- Smoothness 10
- Neighborhood Size [Y]px
- G'MIC -> Lens Distortion (if you want curve)
Software You Need
- GIMP
- This is for basic image manipulation, most software out there would work too.
- G'MIC
- I use the
G'MIC-Qt plug-in for GIMP 3.0
- I use the
How to Do It
Base Image
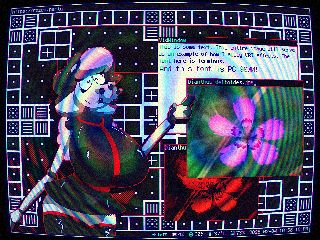
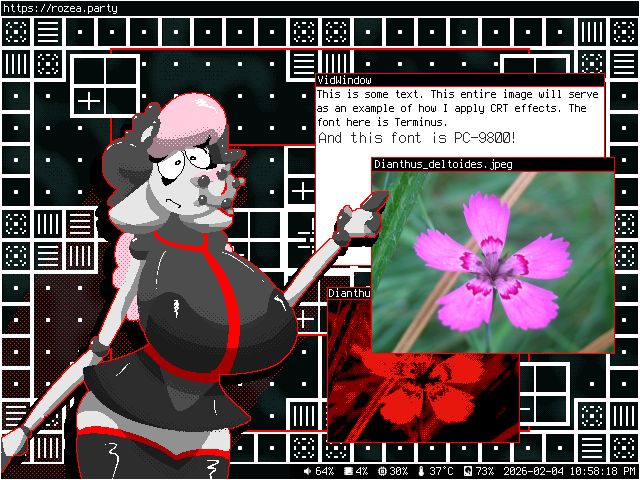
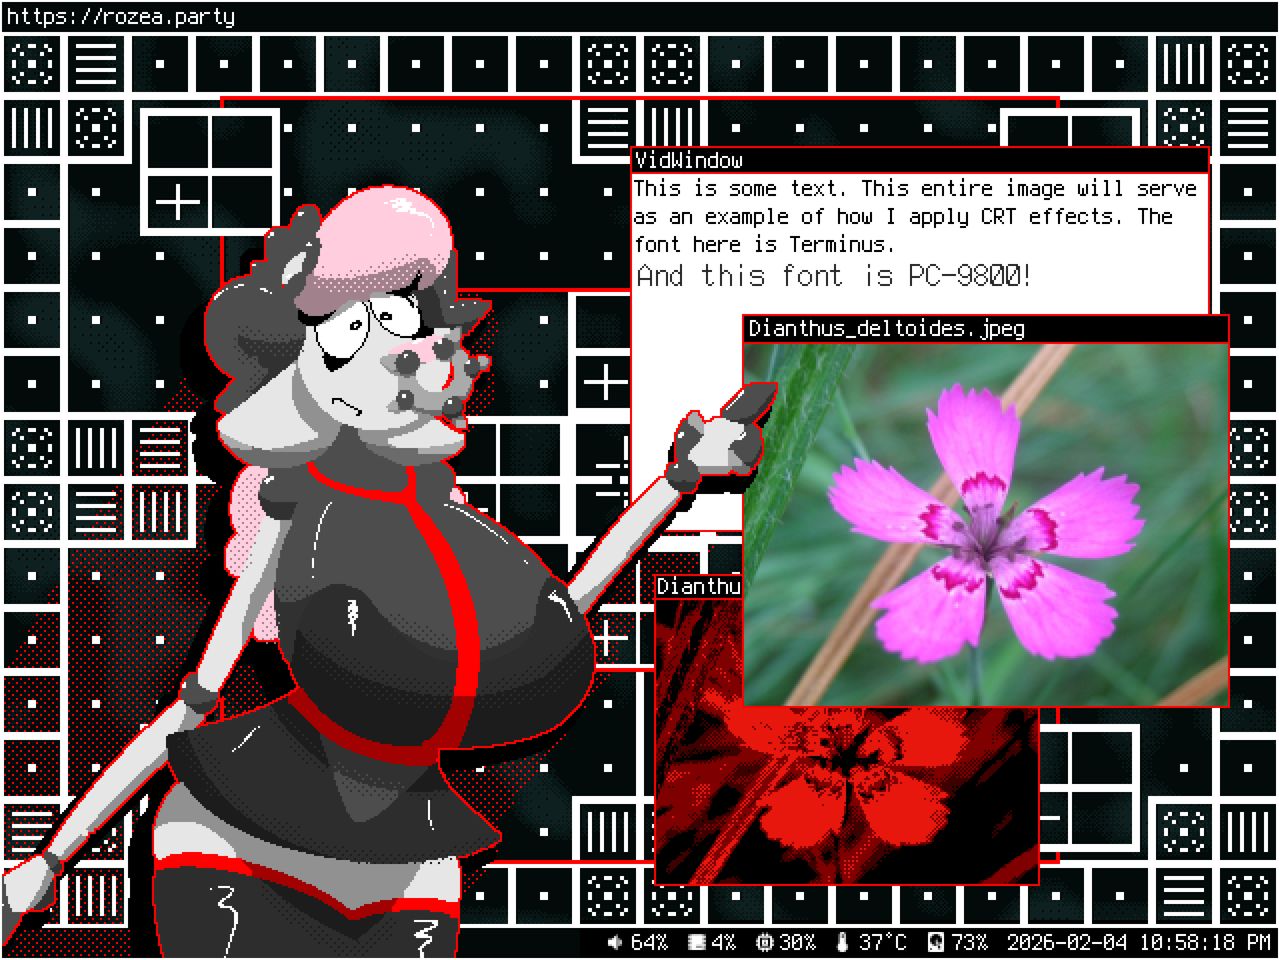
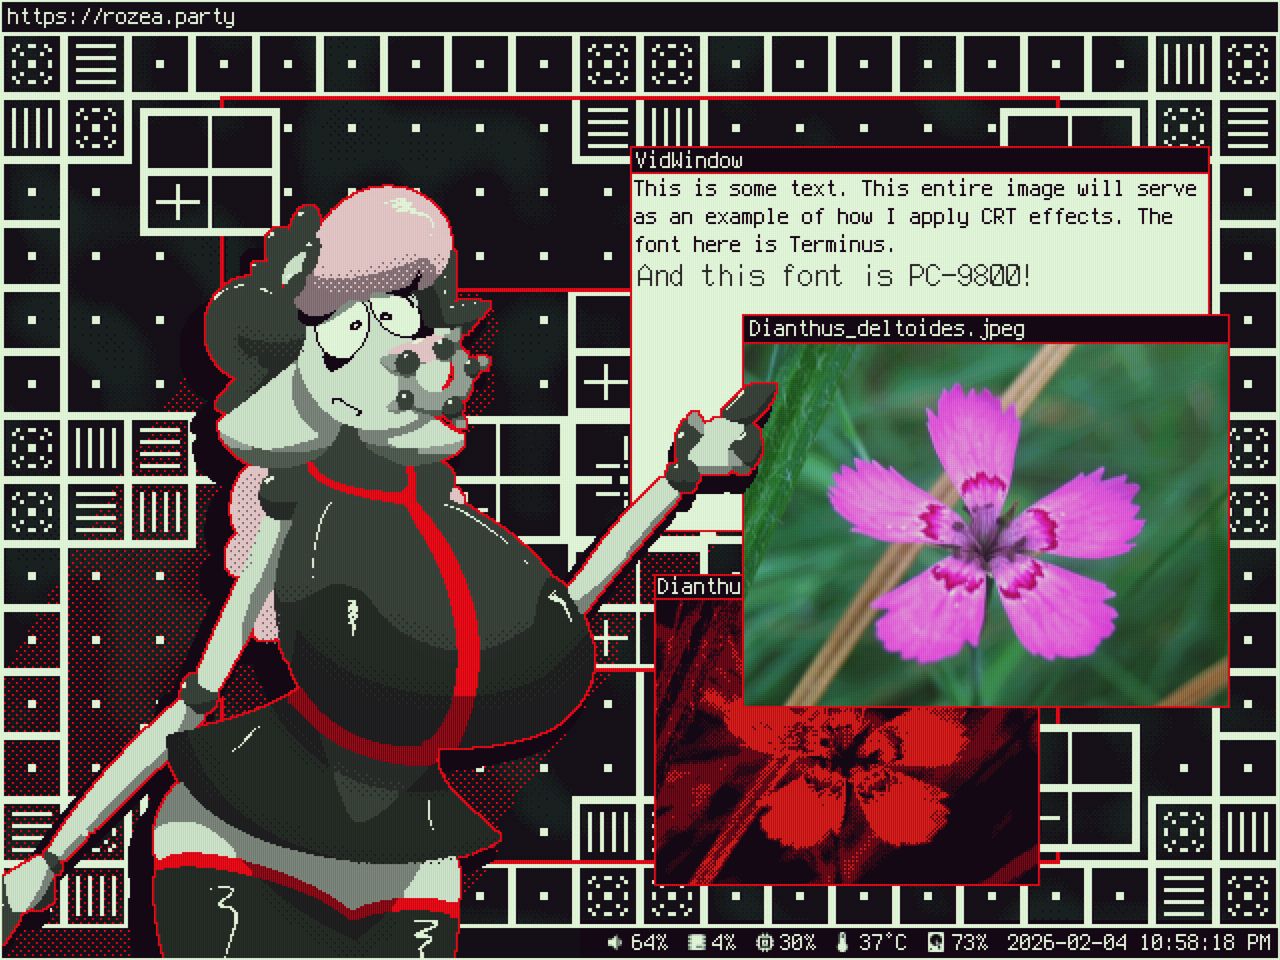
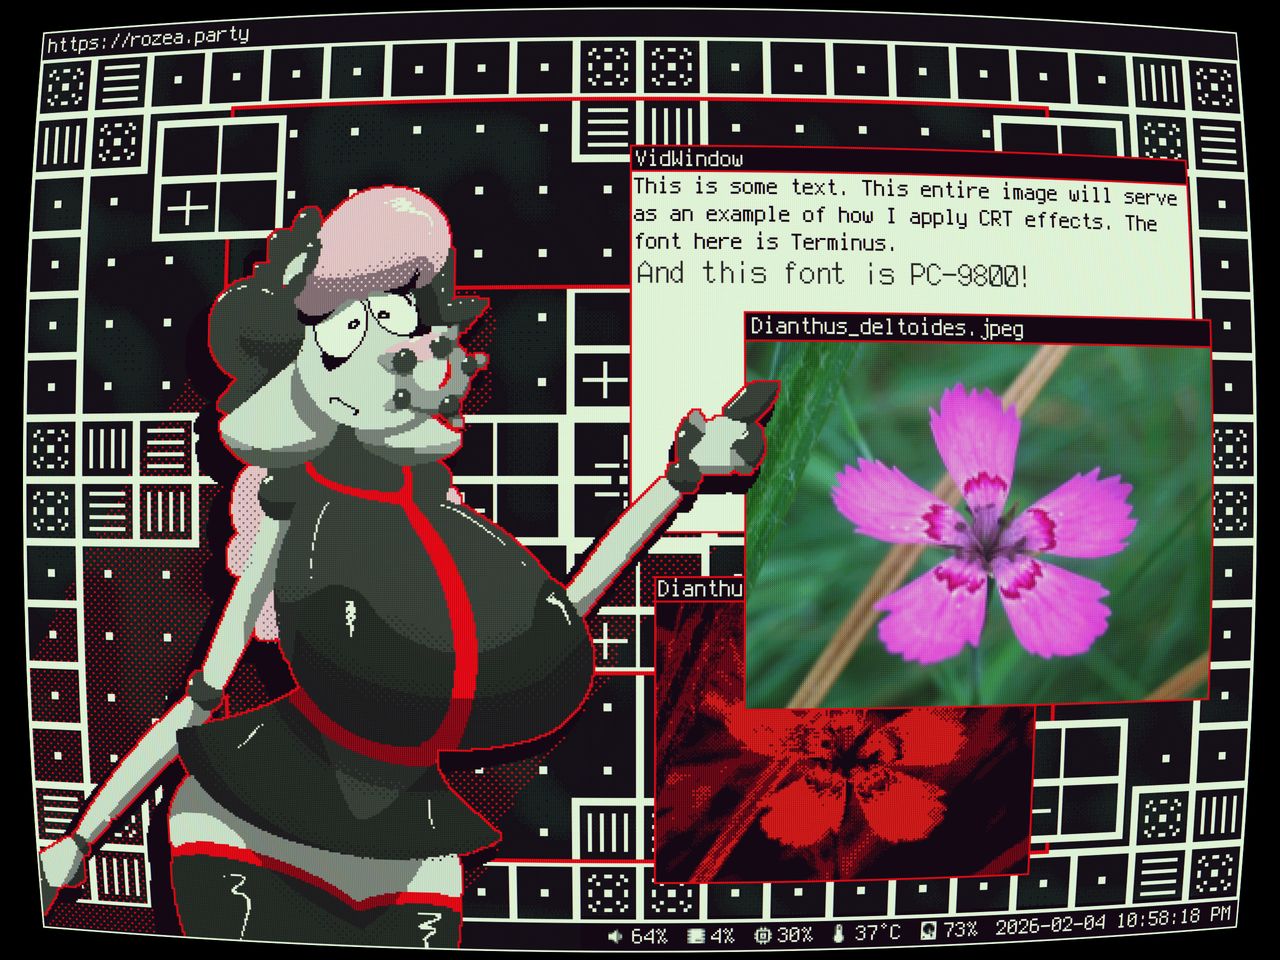
For this example I will start with an image that is 640x480 resolution.
Scale Image
The next step is to scale the image. In GIMP, Image -> Scale Image...
For the Width we want to multiply that by 4. You can actually put math in the GIMP inputs, as in 640*4 and GIMP will convert it for you. 4 is chosen to get the image size around the standard 2560x1440, but you can choose a different number if you want the resulting image to be higher resolution.
Change Interpolation to None. We want to keep the image sharp.
The Actual CRT Filter
Filters -> G'MIC Qt... -> CRT Phosphors
- Upscale Factor - X1
- Rendering Precision - High
- This doesn't make too much of a difference, makes the resulting image a bit sharper.
- Smoothness - 10
- I find the colors are better with this turned up.
- Neighborhood Size - 4px
- Or the number you put when scaling the image. This is so the size matches up with the base image.
Feel free to change whatever other options look cool :]
Now we got a cool CRT effect!
Full G'MIC Command
fx_crt_phosphors 0,0,1,10,4,50,1,0,0,0,1,0,50,50,0
Lens Distortion
Filters -> G'MIC Qt... -> Distort Lens
For this one you can pretty much just mess with the sliders to get what you want. For this guide I'll leave the Boundary as Transparent and make a black layer below.
Full G'MIC Command
fx_distort_lens 0.074,0.06,0.024,50,50,0
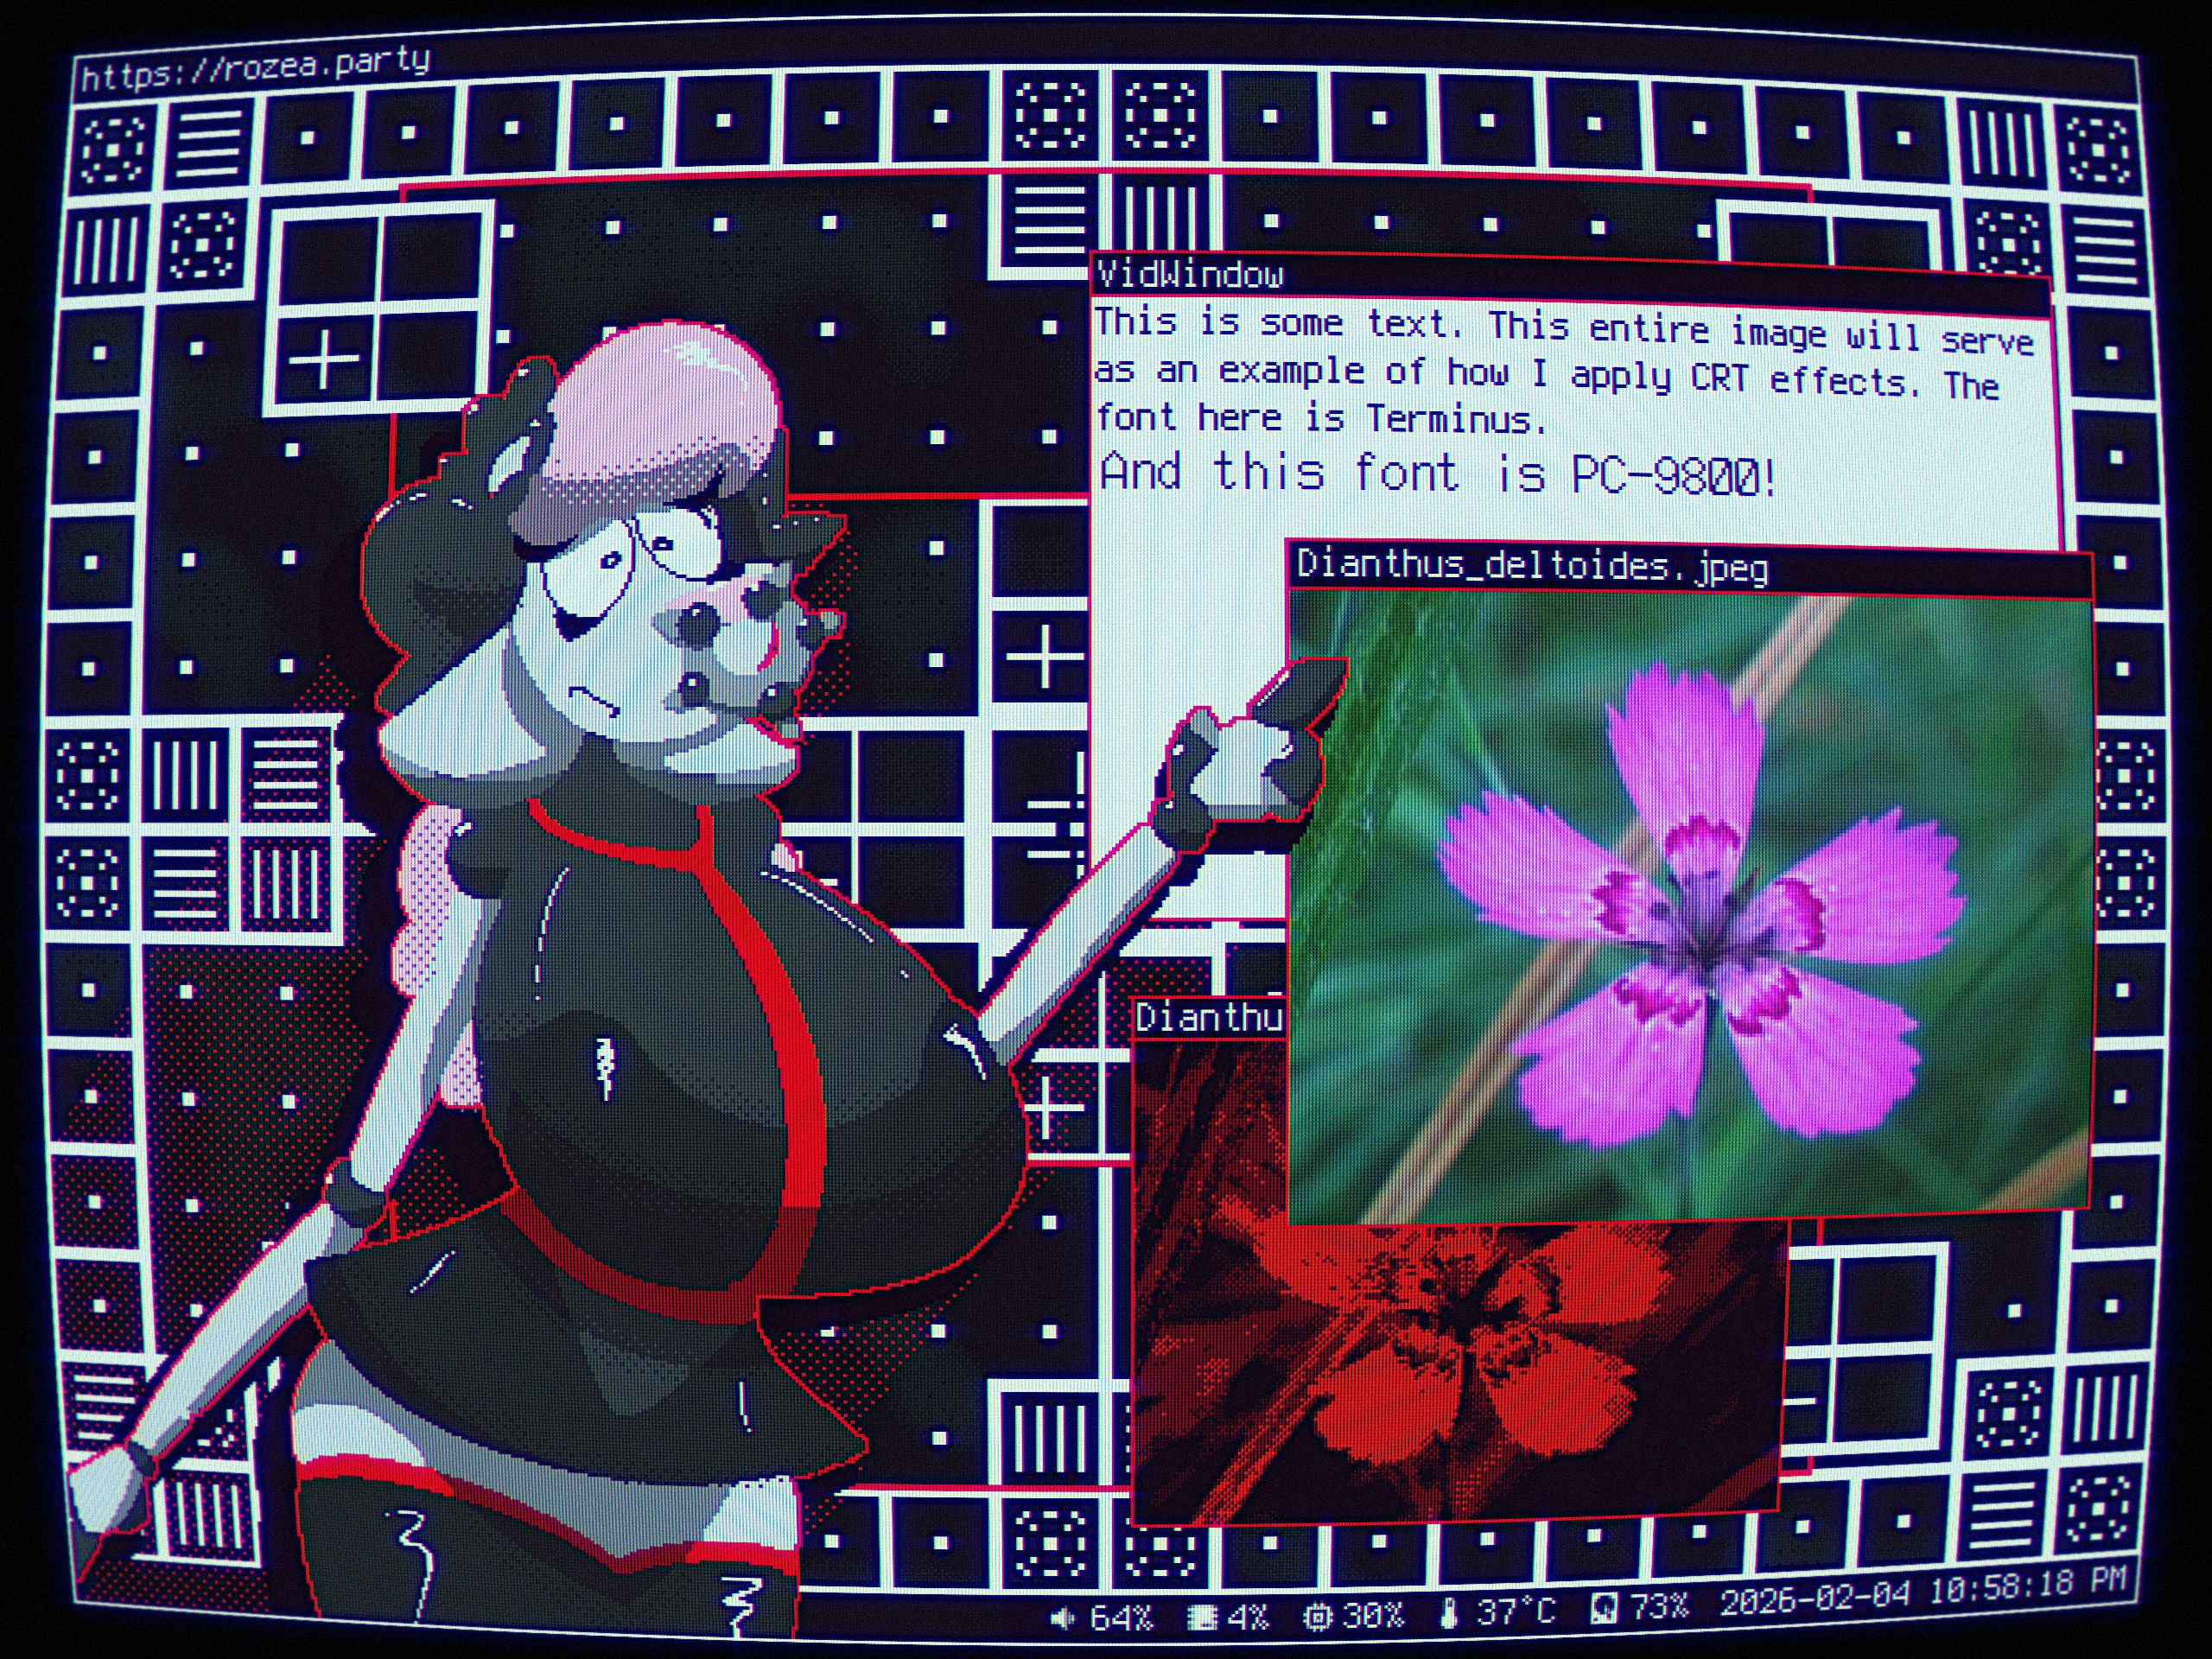
Bloom
So from here on out this may not be too "accurate" to an actual CRT, but I don't care, it looks cool.
Filters -> G'MIC Qt... -> Blur [Bloom]
- Anisotropy - 0.35
-
- This makes the bloom have streaks to the sides (or whatever angle is set)
- Channel(s) - Linear RGB [Blue]
-
- I like the blue bloom here.
Full G'MIC Command
fx_blur_bloom 1,2,5,0,1,0,0.35,0,10
Sharpen
Filters -> Sharpen (Unsharp Mask)...
I like the image to be sharp, the defaults here seem fine.

Depth of Field
Filters -> G'MIC Qt... -> Blur [Depth-Of-Field]
- Blur Amplitude - 0.7
- Blur Precision - 20
- First Radius - 128
- Second Radius - 128
This is like a spice, don't want to go crazy with it. Unless you want to focus on just a part of the screen, might be cool.
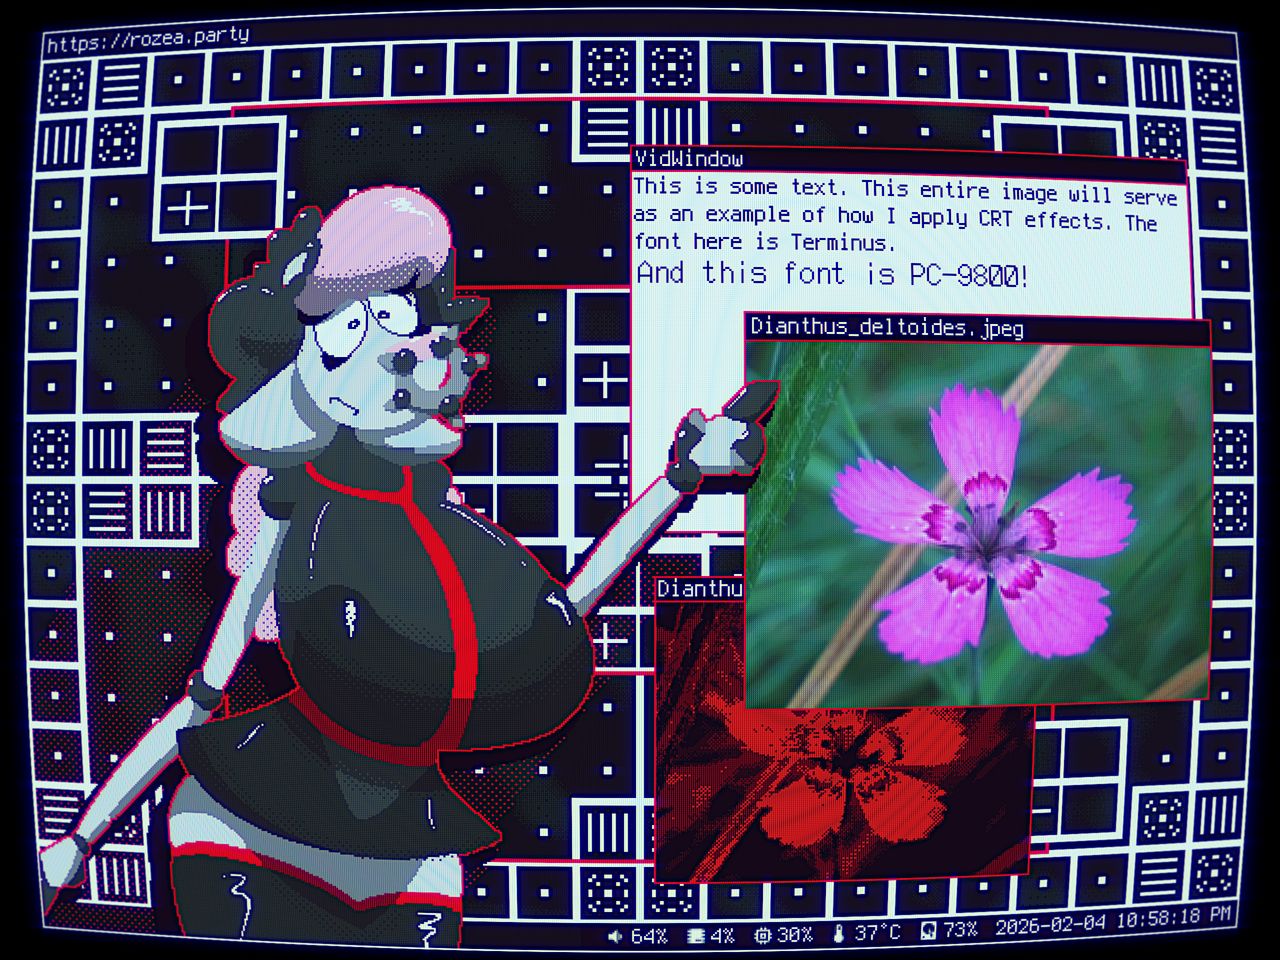
Full G'MIC Command
fx_blur_dof 0.7,20,0,0,50,50,128,128,0,1,1,0
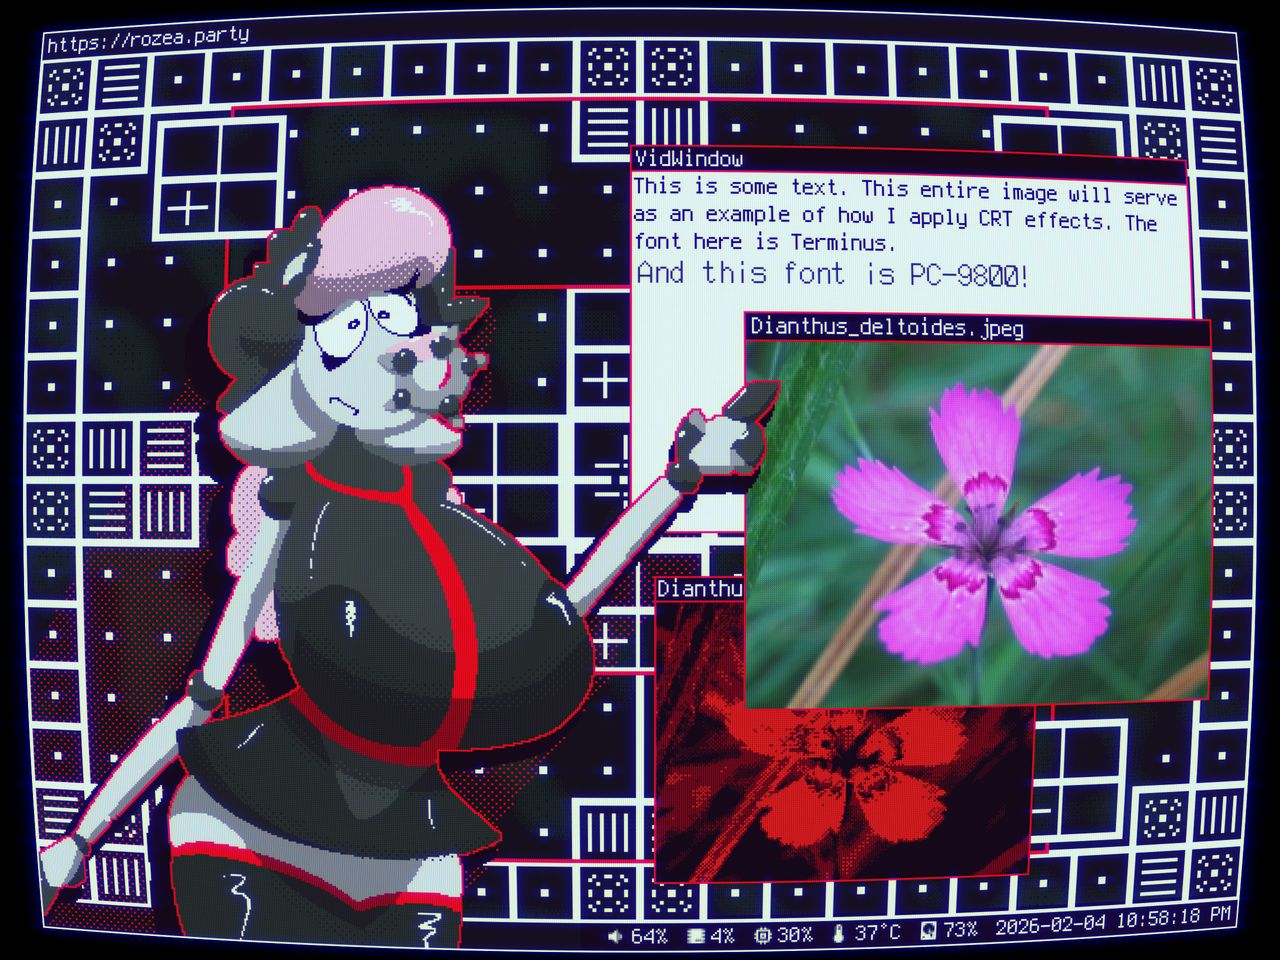
Chromatic Aberration
Filters -> G'MIC Qt... -> Chromatic Aberration
-
Primary Color
- X-Amplitude - 1
- Y-Amplitude - 0
-
Secondary Color
- X-Amplitude - -1
- Y-Amplitude - 0

Full G'MIC Command
fx_chromatic_aberrations 255,0,0,0,1,0,0,50,1,0,255,0,0,-1,0,0,0,1
Film Grain
Filters -> G'MIC Qt... -> Add Grain
I like to simulate this being taken with a "real camera". Also I just like how the grain looks.
- Opacity - 0.333
- Scale - 30
- Sharpness - 512
Full G'MIC Command
fx_simulate_grain 0,1,0.333,30,512,0,0,0,0,0,0,0,0
And there we have it, the final image. Have fun playing around with the parameters / other filters in G'MIC.
Thanks for reading! Until next time!
Extras
Dither Brush
I used this brush set for Krita to create the base image.
https://pixelglade.net.au/resources/freebies/ditheringbrush.htmlMoiré pattern
In certain viewers the resulting image may have a moiré pattern. For example here anti-aliasing is turned off at 12% zoom.